
はじめに
手ごろなDB環境を整えておきたい。かつ、XAMPPほどの機能は要らないかなという思いで、mysqlのみインストールしてみた。
簡易的に試す用途でのインストールのため、設定は適当。
Mysqlのダウンロード
こちらからインストーラをダウンロードする。
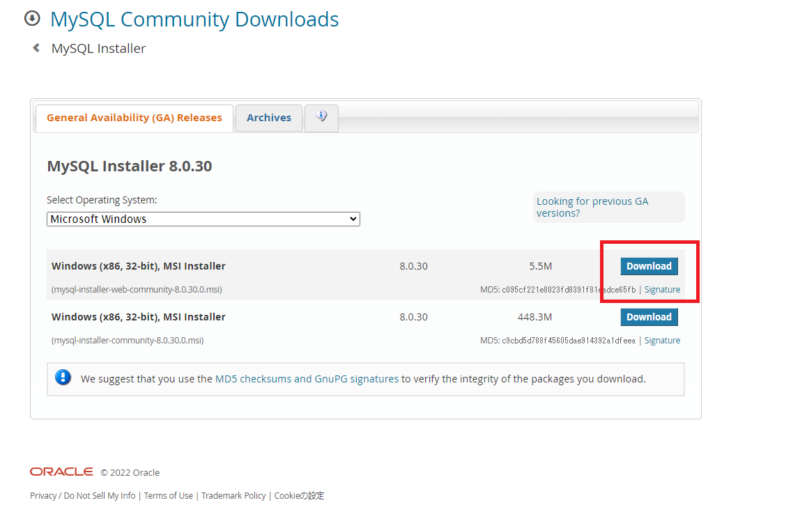
Oracleのログインやサインアップはしなくても、画面下部の文字をクリックすることでダウンロードできる。

Mysqlのインストール
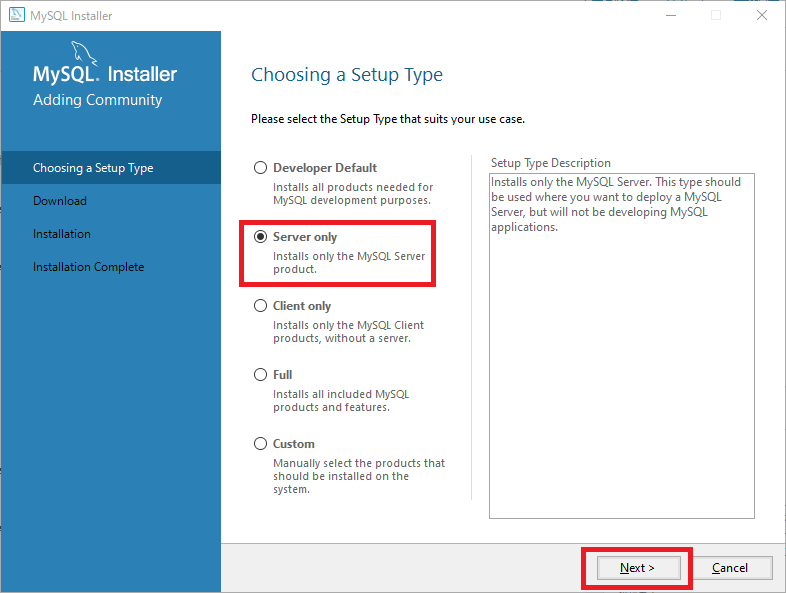
インストーラをダブルクリックして、以下のようにインストールする。
今回はサーバーさえ用意できればいいので、「Server only」を選択。
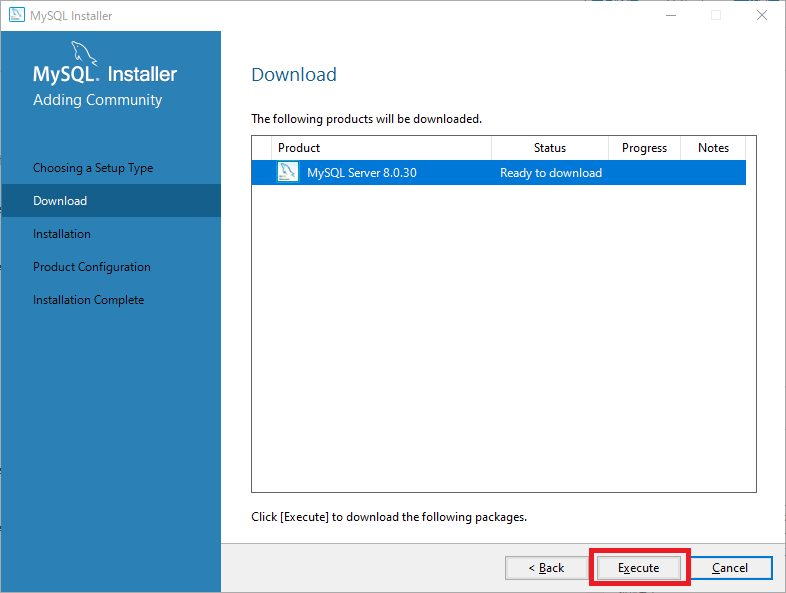
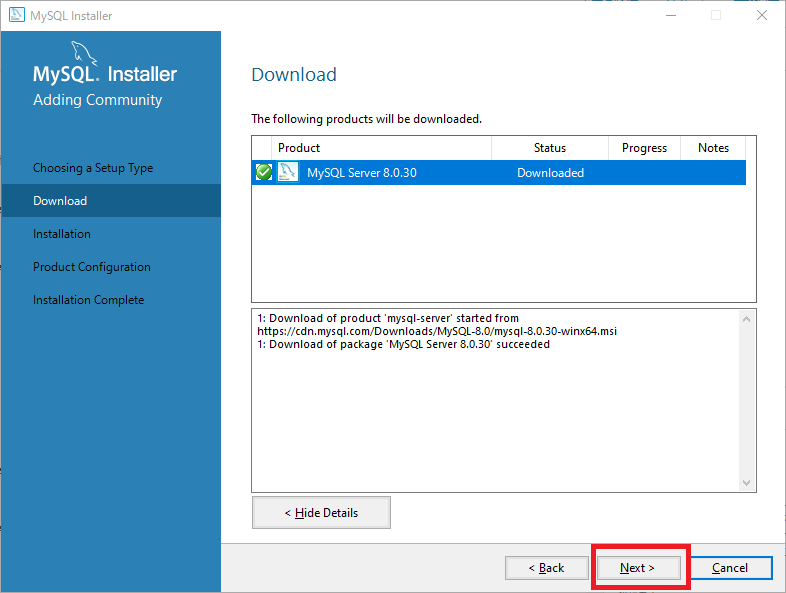
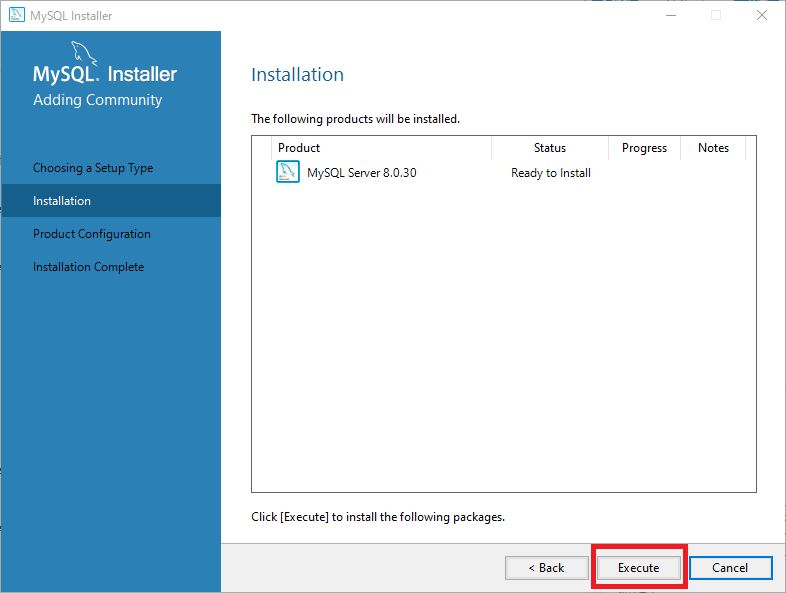
ダウンロードの実行と確認。
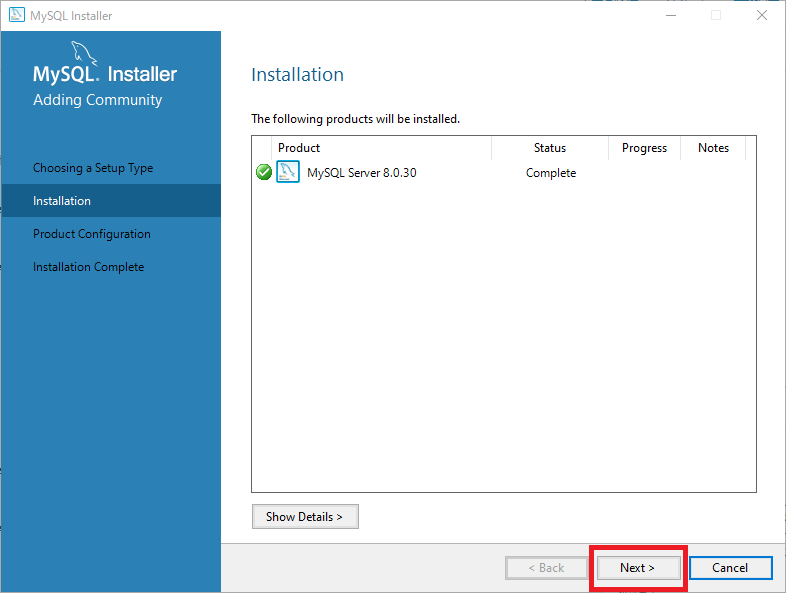
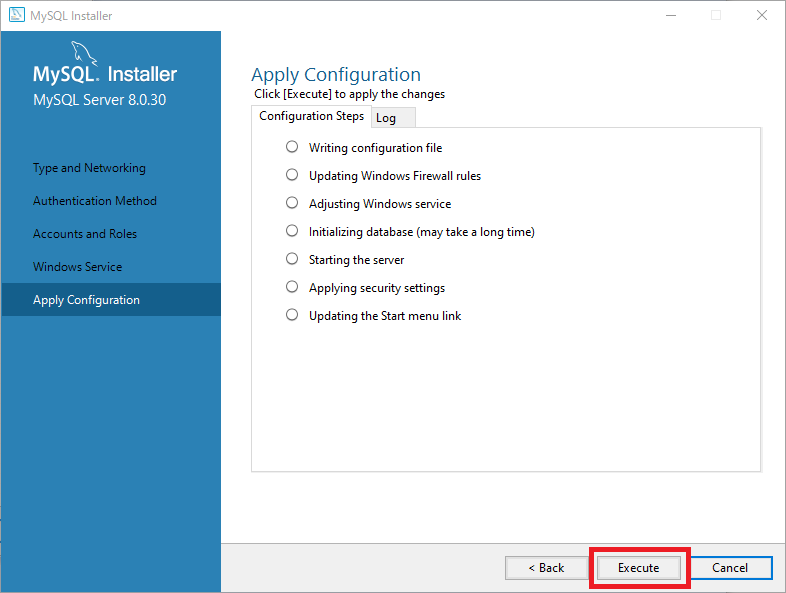
インストールの実行と確認。
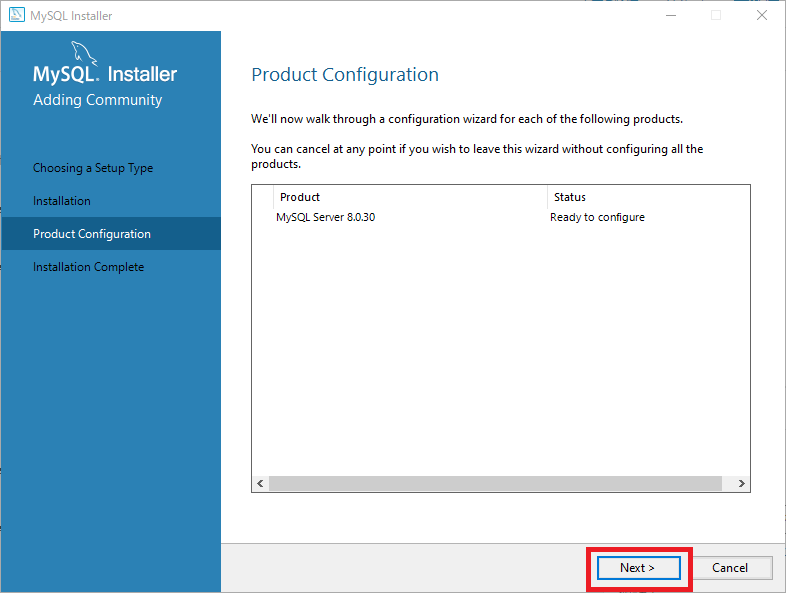
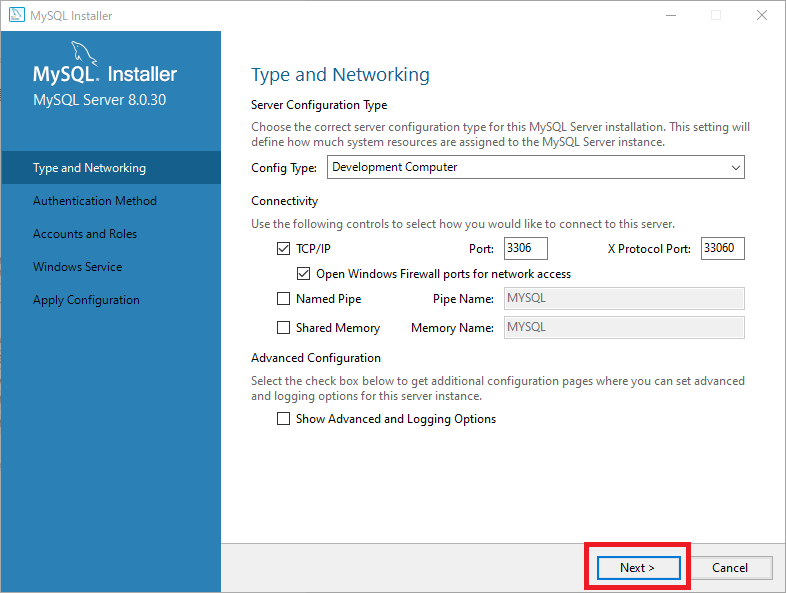
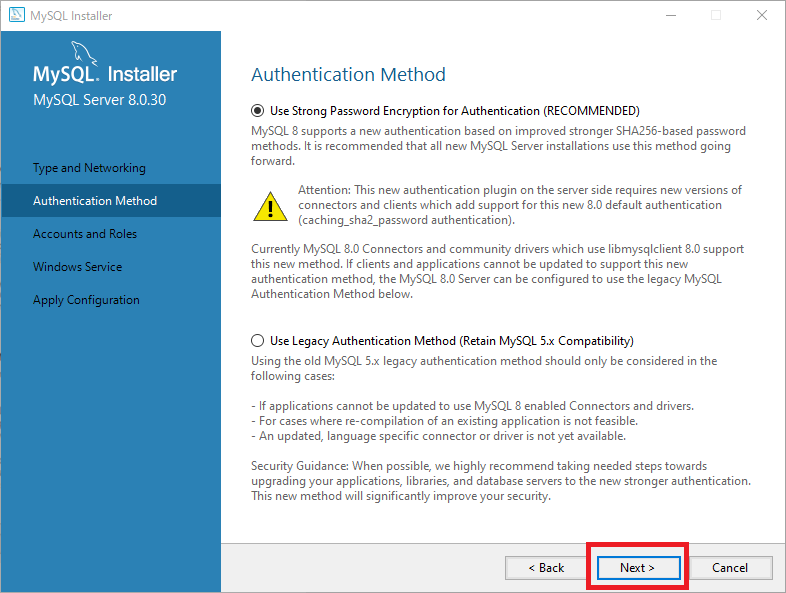
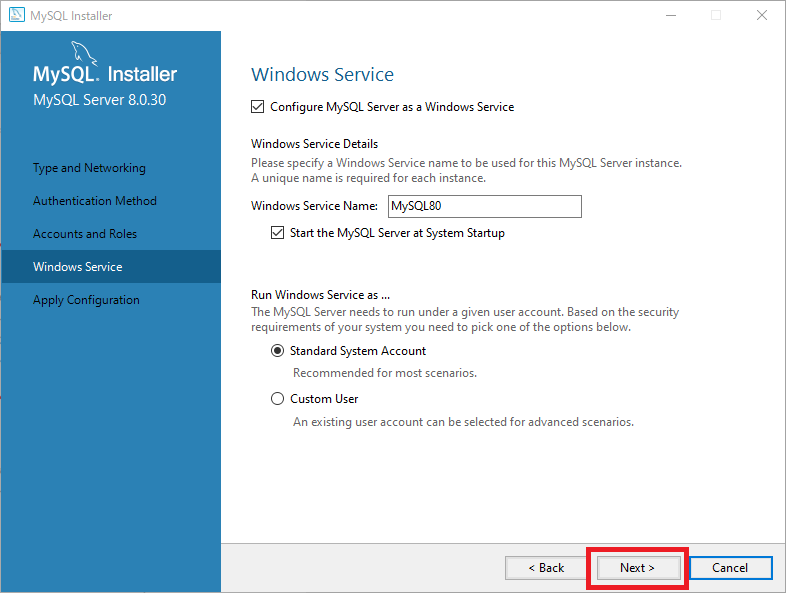
設定も基本的にはデフォルトでOK。
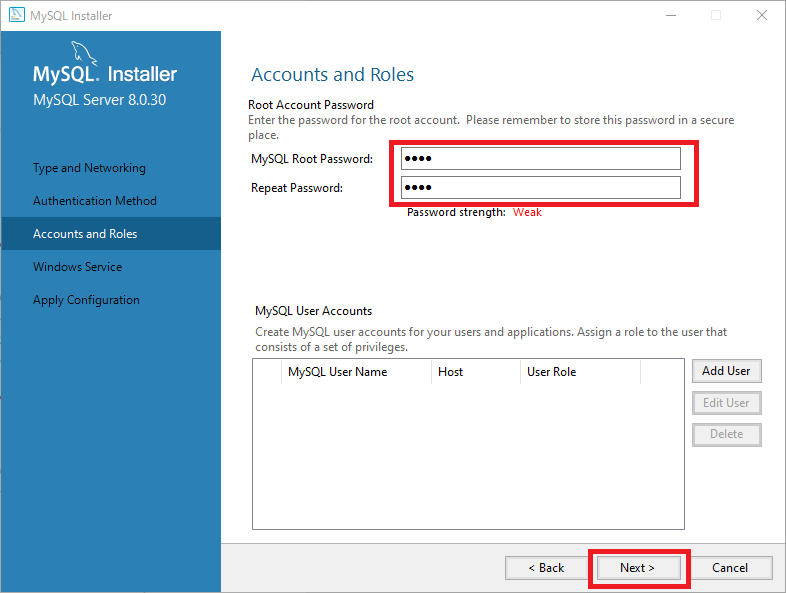
アカウント設定だけは、Root権限のパスワードを入力する必要がある。
お試し用ならrootとかでいいんじゃないかな。
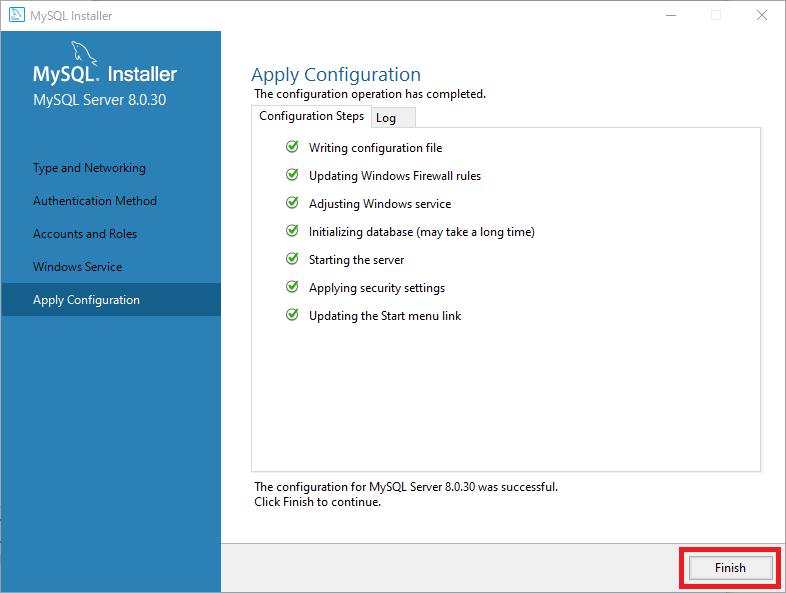
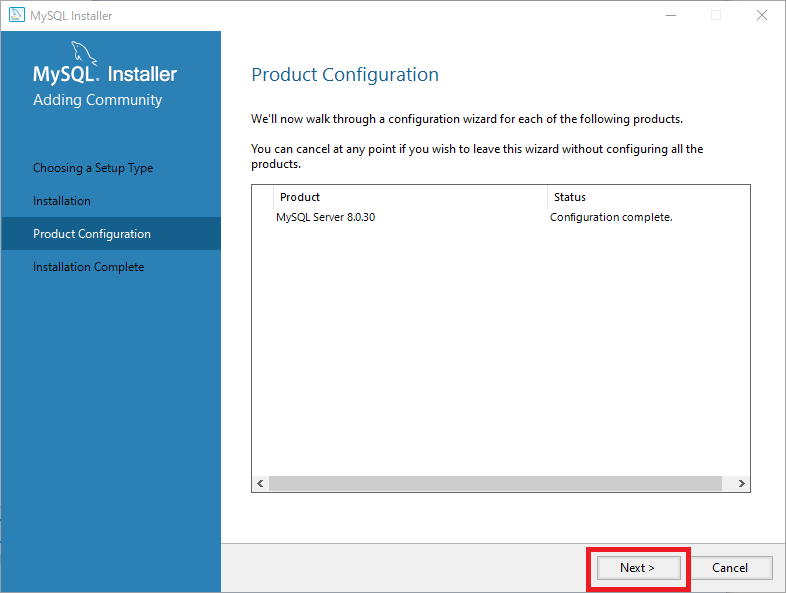
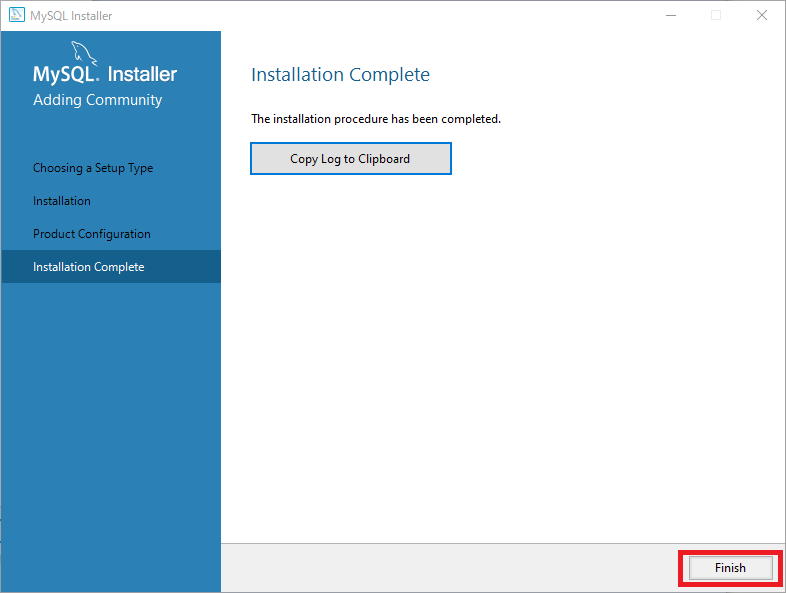
インストール完了。
Mysqlの動作確認
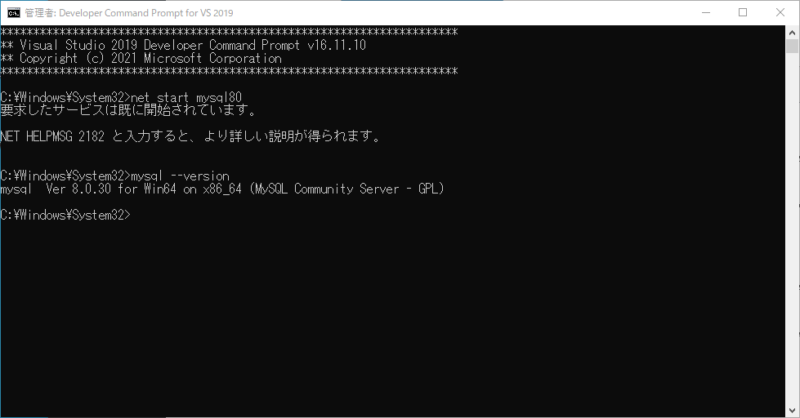
管理者権限でコマンドプロンプトを起動し、以下のコマンドを入力する。
net start mysql80
mysql --version
画像のように表示されればOK。
mysqlコマンドでエラーが発生
「mysql –version」でエラーが出た場合、パスが通っていない可能性があります。
以下の手順でパスを通してください。
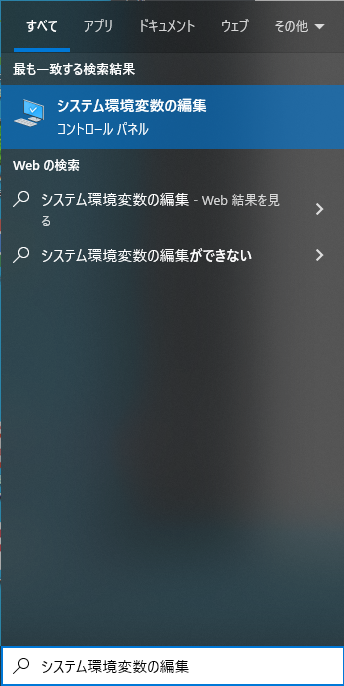
- 「システム環境変数の編集」を実行
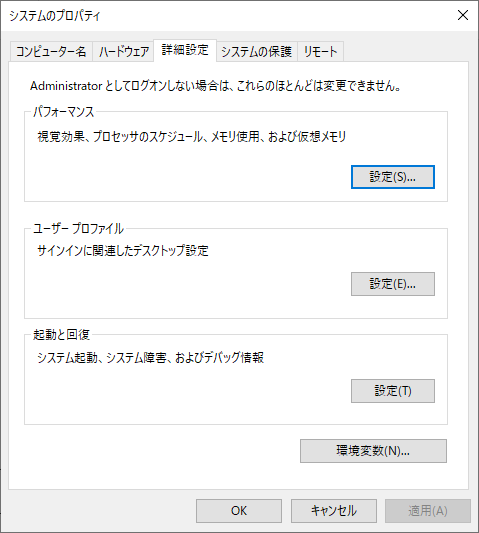
- 「環境変数」を押下
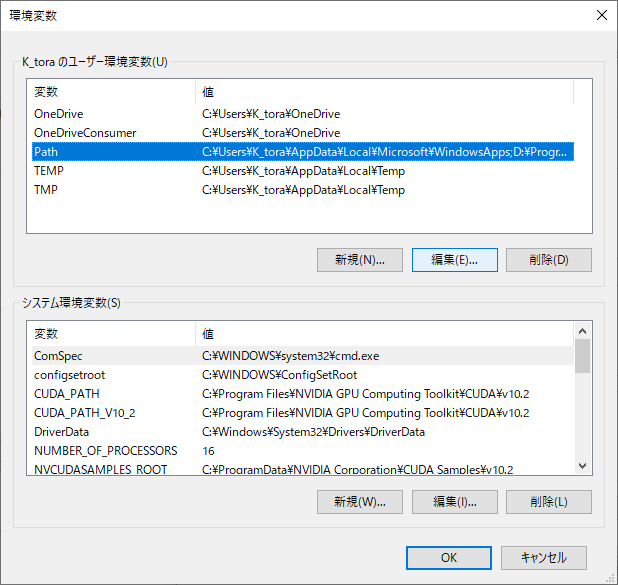
- 「Path」を選択して「編集」を押下
- 環境変数を設定する
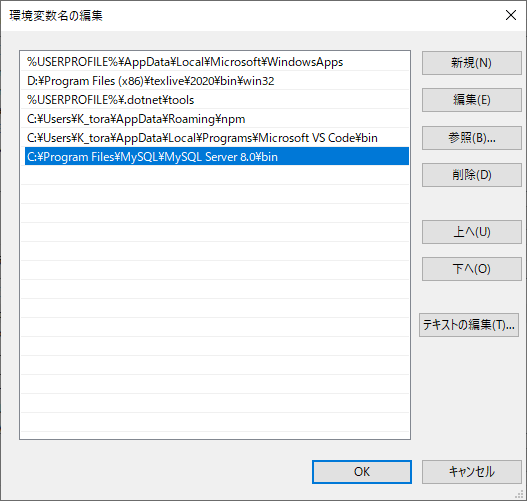
環境変数には「C:\Program Files\MySQL\MySQL Server 8.0\bin」を入力してください。(インストール先がデフォルトでない場合は環境に合わせてください。)
最後に
以前インストールしたnodejsと組み合わせていろいろ遊べそう。

コメント